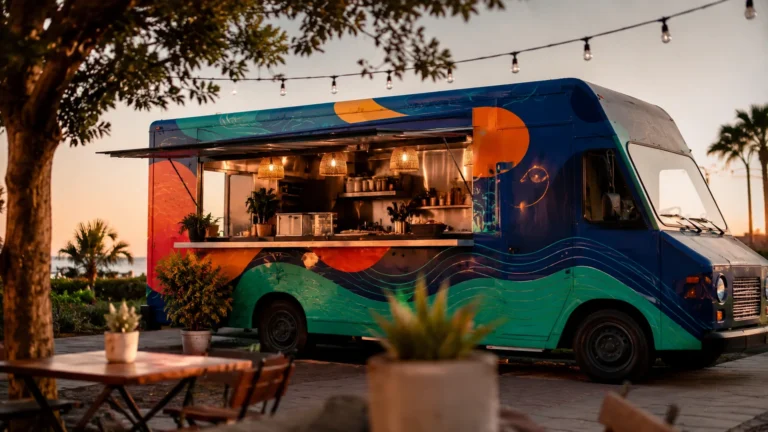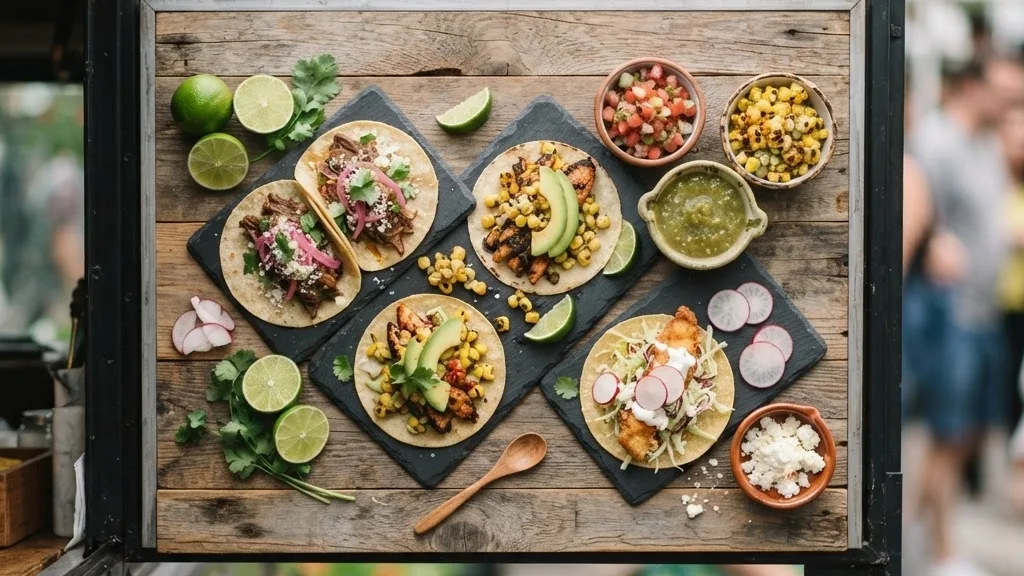
Every dollar you take crosses one spot on the truck: the food truck window, the hole you cut in the side and dropped a window into. People obsess over the griddle and the menu, then treat the serving window as an afterthought they buy last and cheapest. That is backwards. The window sets your service speed, keeps the weather off your food, locks the truck at night, and it is the first thing a health inspector looks at. Get it wrong and you feel it every shift.
I built my first truck with a window that was too small and hung too high, and I paid for that mistake for a full season before I cut a new opening. Customers had to duck to talk to me, I could not see the line forming, and on a hot afternoon the little slider trapped heat like a greenhouse. That one bad cut taught me more about window design than any spec sheet ever did.
Every size, price, and code number below I checked against what suppliers are actually charging this season and against the model food code your health department almost certainly borrows from.
Quick answer: A basic aluminum awning food truck window in a standard 60 x 36 inch size runs roughly $200 to $400 off the shelf, with small units starting near $70 and premium self-closing glass hitting $1,500 to $2,500-plus. Common sizes are 36 x 24, 48 x 36, 53 x 33, 60 x 36, and 74 x 40 inches; a one-person truck wants the 30 to 36 inch range, a busy multi-staff rig wants 60 inches or wider or two windows. Whatever you buy, it has to protect the opening against insects with 16-mesh screening or an air curtain to pass inspection, and it has to lock. Budget a day and a few hundred dollars in tools to install it yourself, or $300 to $1,000-plus to have it cut and fitted.
Why the cut in the side of the truck matters most
The order goes in, the food comes out, the money changes hands, and the customer forms their whole impression of your operation in the ten seconds they stand there. The window is your storefront, your counter, and your point of sale all at once. The trucks that move a lunch line fast, in my experience, almost always have a window chosen on purpose and hung at the right height, and the ones that clog up have a window somebody grabbed because it was on sale.
It is also the weak point in your weatherproofing and your security, a cut you have to seal against rain and a hole you have to lock against theft. The awning style earns its keep here because the same panel that shades customers and keeps rain off your food folds down and latches into a solid barrier overnight. Having spent years parking a truck in lots I did not control, I stopped thinking of the window as a serving hatch and started treating it as the front door, because that is what it is.
Standard sizes and how to pick one
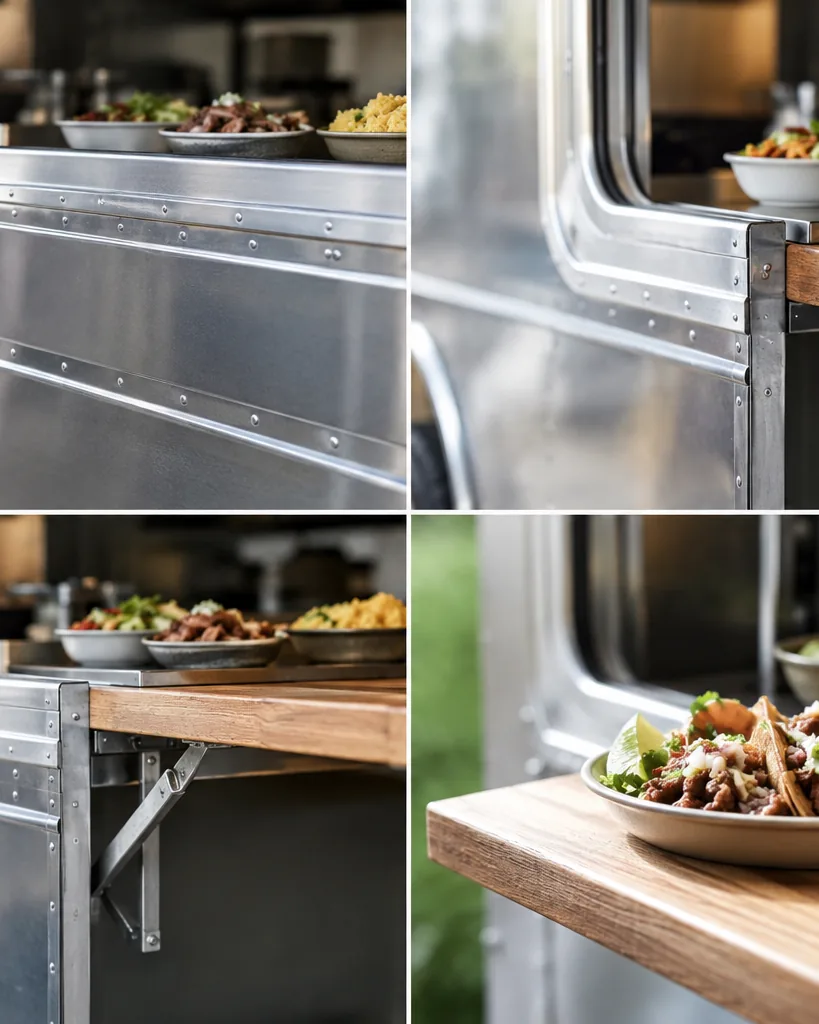
Concession windows come in a set of stocked sizes, so you rarely need a full custom job. The common widths and heights are 36 x 24, 36 x 36, 45 x 30, 48 x 36, 53 x 33, 60 x 36, 64 x 40, and 74 x 40 inches. The 60 x 36 inch unit, which is 1524 by 915 millimeters, is the closest thing to an industry default; it fits the rough opening on most trucks and trailers with little modification. If you are laying out a build from scratch, size the opening to a stock window instead of cutting an oddball hole and paying for a custom frame later.
Picking the width is really a decision about how many people work the window and how fast your line needs to move. A solo operator does not want a six-foot opening, because it just means more heat loss, more surface to keep clean, and a harder reach to every customer. Something 30 to 36 inches wide keeps one person in control, and the pattern I see is that new operators either go too small because it was cheap or way too big because it looked impressive in photos, and both cost them. A two- or three-person crew during a rush is where a 60 or 74 inch window, or two separate windows, pays off.
One number that trips people up is the rough opening. Do not cut the hole exactly the size of the window; leave about a 1.5 inch lip of skin around the cut so the frame’s flange has something to rivet into and sits flush. Measure the frame dimension, not just the glass, and confirm whether the listing size is the frame or the opening. I have seen an operator cut to the glass size and end up with a window that had nothing to fasten to.
| Window size (W x H) | Square inches | Best for |
|---|---|---|
| 36 x 24 in | 864 | Tight carts, coffee, single-item concepts |
| 48 x 36 in | 1,728 | Small solo truck, controlled line |
| 53 x 33 in | 1,749 | Common truck size, one to two staff |
| 60 x 36 in | 2,160 | The default; fits most trucks and trailers |
| 64 x 40 in | 2,560 | Busy rig, wide counter, two servers |
| 74 x 40 in | 2,960 | High-volume events, order-and-pickup split |
Awning versus slider versus self-closing glass
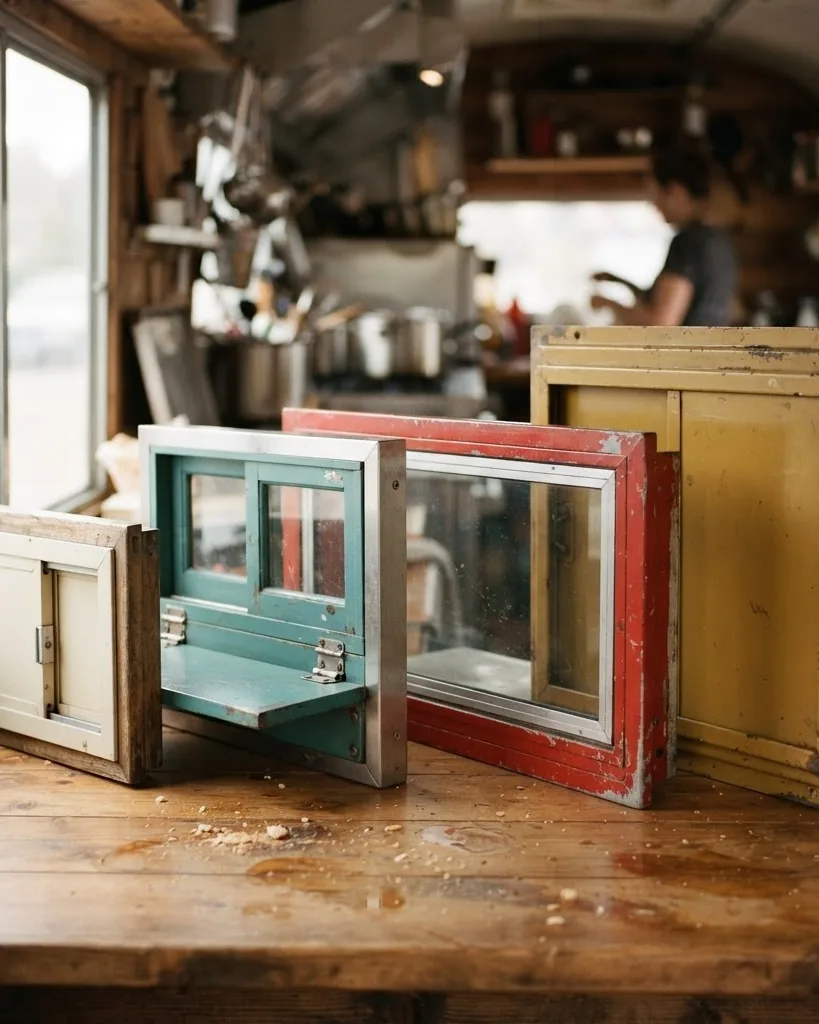
The three styles you actually choose between are the awning, the slider, and the self-closing glass window. The awning window is top-hinged: the whole glazed panel lifts outward and up on gas struts, opening to roughly 80 to 85 degrees on the common VEVOR-class units, and it doubles as a canopy over your customers. It comes with a drag hook to pull it closed at the end of service. It is the default concession window for good reason, because one part gives you shade, rain cover, and a lock-down panel.
A slider is the low-profile alternative: the panels slide horizontally, or lift vertically, inside a fixed frame instead of swinging out. You lose the built-in canopy and need a separate awning for weather, but you gain a window that does not stick a big panel out into a crowd or catch the wind. The choice is really awning versus slider on whether you want the panel to become a roof or stay flat against the truck.
The third option is the self-closing glass transaction window, the drive-thru style from makers like Ready-Access and Quikserv. It is a single panel that slides and closes itself, built specifically to satisfy the insect-and-air-control side of the health code and to hold climate control in extreme weather. It costs a lot more, but in a jurisdiction with a strict read of the code, or if you run in brutal heat or cold, it earns the premium. Alongside the style question sits the single-versus-double decision: one wide window, or two openings so customers order at one and pick up at the other. A double window is the classic move for splitting a heavy lunch rush, and I get into that tradeoff in my food truck design breakdown.
Frame, glass, screens, and keeping thieves out
Once you settle on a style, the build quality is all in the frame, the glazing, and the screens, and this is where the cheap units and the good ones separate. Most concession windows use an aluminum alloy frame around 1.2 millimeters thick, light enough not to load down the skin and rustproof enough to survive years of rain and grease. The insect screens are the part your inspector cares about, and the good ones use 304 stainless steel mesh at 16 mesh to the inch. The glazing is either tempered safety glass or polycarbonate on budget builds. Here is what I check before I buy.
- Frame material and wall thickness – aluminum around 1.2 mm resists corrosion and does not sag over a wide opening
- Screen mesh – 304 stainless at 16 mesh to 1 inch, which is also the code standard, not a flimsy plastic net
- Glazing – tempered glass for safety, or polycarbonate if you want lighter and cheaper and can accept scratching
- Awning travel and struts – opens to about 85 degrees and holds there on gas springs, with a drag hook to close it
- Locks – at least two keyed internal locks so the panel cannot be pried open when you are parked and gone
- Weather seals – double waterproof strips around the panel so a lifted awning does not funnel rain onto your feet
Security is the part people underrate until the first time a truck gets hit. A closed, latched awning is your overnight barrier, and the two keyed locks keep a curious hand from sliding the panel open in a lot. Speaking from my 8 years parking in shared commissary yards and event fields, I treat the window locks like I treat the ignition; the awning is not really down for the night until both keys have turned. If your window came with one flimsy latch, add a second lock, because that panel is the easiest way into your truck.
What a serving window actually costs
The price spread is huge, and it maps almost exactly to how the window is built and what code job it does. An off-the-shelf aluminum awning window from a retailer like VEVOR or RecPro runs from about $70 for a small 36 x 24 unit up to $600 or more for a large one, with the popular 60 x 36 size usually landing around $200 to $400. That is the sweet spot for most trucks and genuinely good value; these windows are screened, awninged, and lockable out of the box. Where the number jumps is the premium self-closing and drive-thru glass windows, which run $1,500 to $2,500 or more per opening.
Then there is the DIY route, worth naming honestly. Some budget builders skip the concession window and hang an exterior home window from a big-box store for $60 to $120, which absolutely saves money. But here is what most guides get wrong: that is not a free lunch. A home window is not built for a food service opening, it usually has no code-grade insect screening or self-closing feature, and it can fail your health inspection outright, so you save $200 and lose a permit. If you go budget, at least add proper 16-mesh screening. On top of the window, budget for install: doing it yourself is a few hundred dollars in tools plus a day of labor, while paying a fabricator to cut, frame, and fit it adds $300 to $1,000 or more. If you are financing the build, the U.S. Small Business Administration is worth reading before you buy, and my food truck cost guide puts the window in context against the rest of the money.
| Window option | Typical price | Notes |
|---|---|---|
| Small aluminum awning (36 x 24) | $70 – $150 | Carts, single-item trucks |
| Standard aluminum awning (60 x 36) | $200 – $400 | The default buy; screened and lockable |
| Large awning (64 x 40 to 74 x 40) | $400 – $600+ | High-volume, multi-server |
| Self-closing / drive-thru glass | $1,500 – $2,500+ | Code-focused, climate control |
| DIY home window conversion | $60 – $120 | Cheap but may fail code without screening |
| Professional cut and install | $300 – $1,000+ | On top of the window price |
Health-department rules you cannot skip
This is the section that turns a nice window into a legal one, and it is where a lot of first-time builders get a nasty surprise at inspection. Most local health departments adopt some version of the FDA Food Code, and the section that governs your window is 6-202.15, protection of outer openings. Any outer opening, which your serving window absolutely is, has to be protected against insects, rodents, and birds by tight-fitting self-closing doors, closed windows, screening, or controlled air currents. When the window is open for service, the code wants 16 mesh to 1 inch screening or a properly designed air curtain to hold the flying insects off. You can read the current rule at the FDA Food Code before you buy.
Local departments layer their own numbers on top of the model code, so call your own county instead of trusting a forum. A common local read is that a service opening under 432 square inches may be allowed when it is paired with a fly fan or air curtain, and under 216 square inches without one, and some codes require separate openings sit at least 18 inches apart. Those numbers matter, because a 60 x 36 window is 2,160 square inches wide open, far past those thresholds, which is exactly why the screening and self-closing features are not optional. According to the U.S. Food and Drug Administration model code the intent is simple, no path for a fly to reach your food, and the trap I see is operators buying a beautiful window with no code-grade screen and then scrambling the week before inspection.
Cutting and installing it without wrecking the truck
Installing a concession window is within reach of a careful DIYer, but the order of operations matters and a couple of the steps are unforgiving. The cut has to be straight, the opening reinforced so it does not flex on the highway, and the seal continuous or you will chase water leaks forever. I have done this both ways, hired out and by hand, and the hand version is honestly satisfying if you respect the truck’s structure. Here is the sequence I follow.
- Step 1 – Mark the opening to your stock window’s frame size, leaving about a 1.5 inch lip of skin all around for the rivet flange, and snap a level line so the window does not sit crooked.
- Step 2 – On a trailer, find and avoid the structural crossmembers before you cut; cutting through a load-bearing member compromises the whole box and you cannot un-cut it.
- Step 3 – Cut with a circular saw for the straight runs, or a variable-speed jigsaw fitted with a fine-tooth bi-metal blade rated for sheet metal, going slow so you do not tear the skin.
- Step 4 – Reinforce the opening with 1×2 or 2×2 wood or aluminum strips framing the interior perimeter, tied into the wall studs so the wall cannot flex when the truck is moving.
- Step 5 – Dry-fit the window, then set it with a continuous bead of silicone around the full outer flange and rivet it down, tightening evenly so the frame pulls flat against the seal.
- Step 6 – Test before you close up: work the awning through its full travel, confirm the locks throw, run a hose over the seam, and fix any weep before you load food.
If your build also relocates the counter, plumbing, or the cooking line to match the new window, treat the whole side of the truck as one layout problem, not a series of separate holes. My food truck equipment rundown covers how the window, the counter, and the line have to agree, because a window in the wrong spot forces every other piece of gear into a bad position.
Placement and line speed at the window
Where you hang the window, and how high, decides how fast you can serve and how wrecked your body feels at the end of a double. The two levers are the sill height and the working aisle behind it. Set the counter too low and everyone hunches; too high and short customers cannot see the menu or reach it. A shelf comfortable for a five-foot-six server makes a six-foot-two server fold over in pain, so I set the window height for whoever works it most and add a mat to level out the rest. Worker reach and lifting comfort at that counter is squarely an OSHA ergonomics issue, not a nicety, once you are standing there ten hours a day.
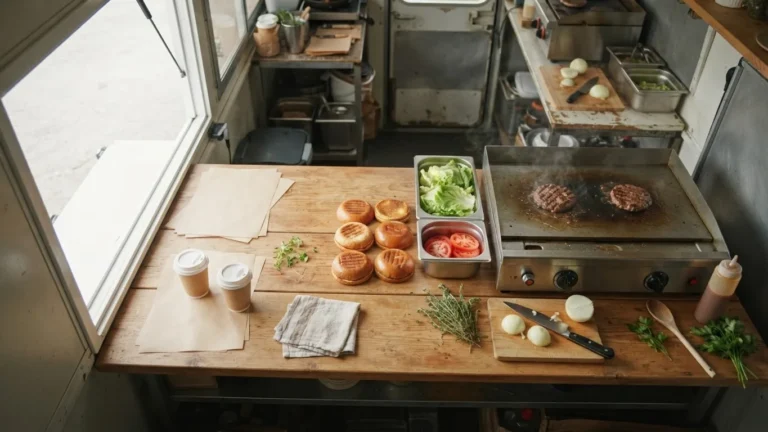
Behind the window, give yourself room to move. Industry and food-code guidance points to a working aisle of at least 30 inches, with 36 inches better once two people share the space, because the second you squeeze past each other your serve time falls apart. The single fastest fix I ever made was moving the pass so the person plating did not cross the person cashing; one documented driveway floor-plan test found that closing a three-foot gap and re-centering the pass shaved about 30 seconds off serve time per customer. After 8 years working lines, I will take a well-placed 48 inch window over a badly placed 74 inch one every time, because placement beats raw size.
If you are planning the rig around throughput, the double-window layout, one opening to take orders and one to hand off food, is the heavyweight move for a busy concept, and it is worth pricing early because it changes where everything else goes. I lay that out alongside the rest of the buildout in my food truck business plan guide, since the window layout drives the labor plan as much as the menu does.
Frequently asked questions
What is the standard food truck window size?
There is no single legal standard, but 60 x 36 inches (1524 x 915 mm) is the most widely stocked size and the closest thing to a default, because it fits most truck and trailer openings with little modification. Common alternatives run from 36 x 24 up to 74 x 40 inches. Size the window to how many people work it: 30 to 36 inches wide for a solo operator, 60 inches or more, or two windows, for a busy multi-staff rig.
Should I get an awning or a slider window?
Choose an awning window if you want the panel to double as a canopy for rain and sun, which is why it is the default concession style; it lifts to about 85 degrees on gas struts and latches down as an overnight lock. Choose a slider if you work windy lots or tight walkways where a lifted panel is a problem, and pair it with a separate awning for weather.
How much does a food truck window cost?
An off-the-shelf aluminum awning window runs about $70 for a small unit up to $600-plus for a large one, with the popular 60 x 36 size usually landing $200 to $400. Premium self-closing or drive-thru glass windows run $1,500 to $2,500 or more. A DIY home-window conversion can be $60 to $120 but may not meet code without proper screening. Add $300 to $1,000-plus if you pay a fabricator to cut and install it.
Can I install a food truck window myself?
Yes, with care. Mark the opening to your window’s frame size leaving a 1.5 inch lip, avoid cutting structural crossmembers on a trailer, cut with a circular saw or a bi-metal jigsaw blade, reinforce the perimeter with framing tied to the studs, and seal the flange with a continuous silicone bead. Test the awning, locks, and water seal before you load food. Budget a day and a few hundred dollars in tools.
Does a food truck window have to be self-closing?
The FDA Food Code section 6-202.15 requires outer openings to be protected against insects by self-closing doors, closed windows, 16-mesh screening, or an air curtain, and your local health department decides how strictly to read that. A self-closing glass window is one way to comply, but a screened awning window with proper 16-mesh stainless screening also satisfies most jurisdictions. Always confirm the exact requirement with your own county before you buy.
What height should a food truck serving window be?
Set the sill for whoever works the window most, since a height comfortable for a shorter server makes a taller one hunch; most builds put the serving counter at a standing-work height and add mats to fine-tune. Behind the window, keep a working aisle of at least 30 inches, and 36 inches once two people share it, so servers are not crossing paths mid-rush and dragging out serve time.
The bottom line
The food truck window is not the part you buy last and cheapest; it is the interface your whole business runs through, so treat it that way. Size it to your crew, not to a photo, with 60 x 36 inches as the safe default and 30 to 36 inches for a solo line. Pick the style on whether you want a canopy, a low profile, or code-first climate control, and pay for the screening and locks that keep you legal. Whether you buy a $300 awning unit or a $2,000 self-closing window, get the cut straight, reinforce the opening, seal it right, and hang it at a height and placement that lets you move a line fast. And according to SBA guidance on planning startup costs, the cheapest line item is rarely the one that decides whether you make money, and the window is the proof of that.