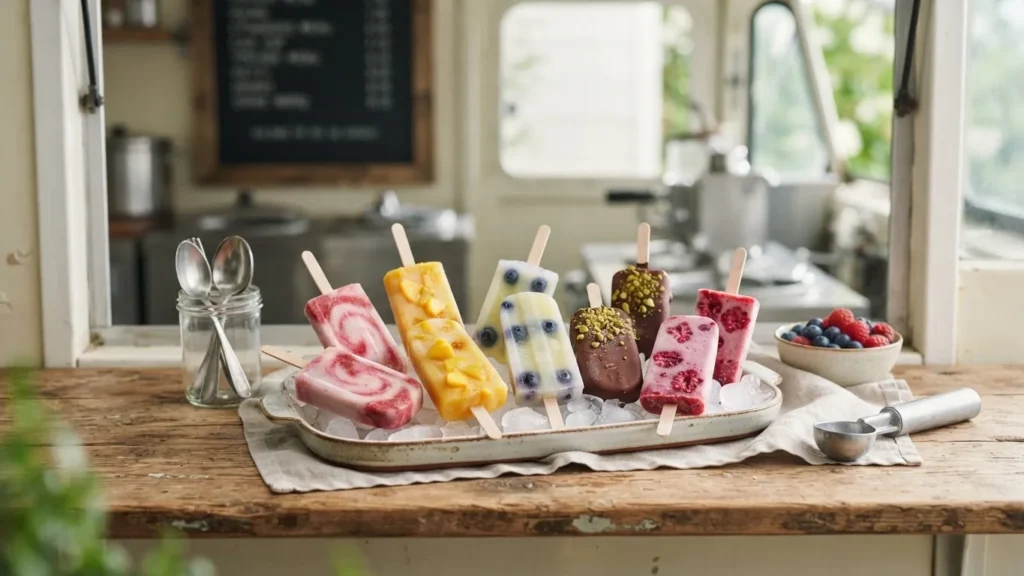
The red-white-blue pop you remember from the curb is not one recipe. Popsicle’s Firecracker runs sweet cherry, tangy white lemon, and fruity blue raspberry, while the Bomb Pop from Wells Enterprises stacks cherry, lime, and blue raspberry. That lime-versus-lemon swap in the middle is the whole reason two pops that look identical taste different, and it is the first thing to settle before you try to copy one at home. Ice cream truck popsicles come in two completely separate families built on two completely separate methods: water-and-fruit pops that set up in a standard mold, and dairy ice-cream pops that will crack a standard mold and refuse to release. Get the family right and the rest is timing.
This guide covers both families, the exact freeze times per layer, the storage window, and the mold choice that decides whether your pop slides out clean or snaps the stick.
Quick answer: Ice cream truck popsicles split into fruit-based pops and dairy ice-cream pops. Fruit and yogurt pops set well in standard ice-pop molds; dairy pops release cleaner from 3-ounce Dixie cups or muffin tins. A layered firecracker copycat needs the white layer frozen about 20 minutes to semi-firm before you push sticks through, then 10-20 minutes more to firm, with the final layer locking in over 3 hours or overnight. Store homemade pops in a zip-top bag in the freezer for up to 1 month. A commercial Popsicle Firecracker runs 35 calories per pop with 0g saturated fat and 0mg sodium.
Firecracker vs. Bomb Pop vs. Rocket Pop: which red-white-blue pop you’re copying
Before you buy molds, name the pop. The three flavor layers in a Firecracker are, per Popsicle (Unilever), sweet cherry on top, tangy white lemon in the middle, and fruity blue raspberry on the bottom. The Bomb Pop’s original lineup swaps that middle band to lime, giving cherry, lime, and blue raspberry. The same Firecracker-versus-Bomb-Pop distinction shows up elsewhere too, so if you’ve argued with a friend over whether the middle is lemon or lime, you’re both right – you’re just describing different products.
Editorial rankings of the classic truck lineup put the Firecracker, Bomb Pop, and Rocket Pop at the top and note the middle band is “sometimes lime, depending on the brand,” with the multicolor “Lick-a-Color” pops rounding out the nostalgia set. None of this changes your method – it changes which flavor you reach for on the middle layer. Pick lemon and you’re building a Firecracker; pick lime and you’re building a Bomb Pop.
Why does this matter at the counter? Because the middle layer is where a copycat usually goes wrong. The flavor has to read distinct from the cherry above and the blue raspberry below, or the three bands blur into one vaguely sweet pop. Commit to lemon or lime up front and you commit to a recognizable copy.
What’s actually in a commercial Firecracker (and the numbers on the wrapper)
A store-bought Firecracker is lighter than most people guess, at 35 calories per pop, with 0g saturated fat and 0mg sodium. That’s a water-based pop, not a dairy one, which is why it melts fast and freezes rock-hard.
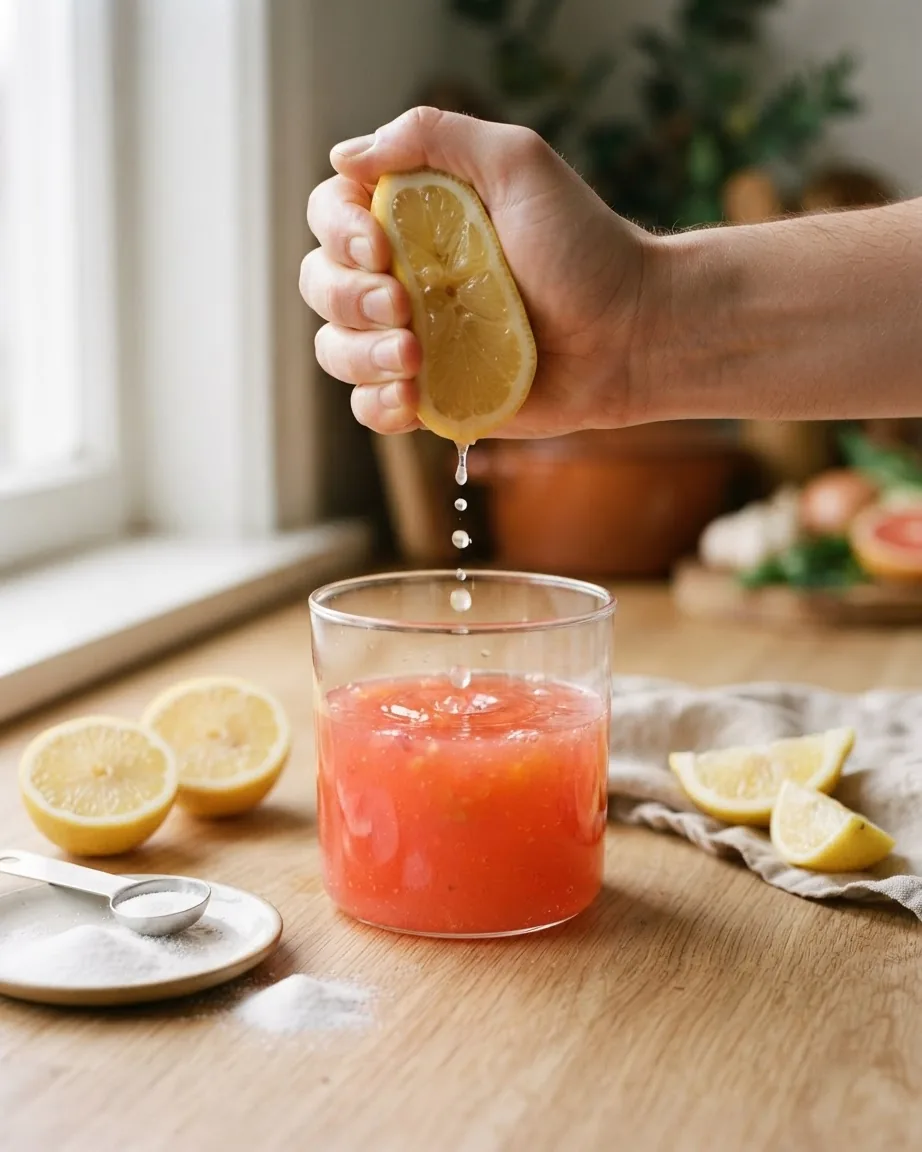
The ingredient list opens with water, high fructose corn syrup, corn syrup, and sugar, then “less than 2% of” a short run that includes ascorbic acid (vitamin C), dextrose, malic acid, citric acid, and vegetable juice for color. Two facts worth pulling out of that: the color at the bottom of the list comes from vegetable juice rather than a synthetic dye on this product, and the acids – malic and citric – are what give the commercial pop its tang. If your homemade fruit pops taste flat next to a store Firecracker, a squeeze of lemon or lime juice into the base is doing the same job those acids do.
The layered firecracker copycat: per-layer freeze times that decide the stripes
A fruit-and-yogurt copycat lives or dies on timing, not ingredients. The sticks are the trap. Pour all three layers at once and the stick floats or tilts; freeze each layer rock-solid first and the next layer won’t bond, so the pop splits along the seam when you unmold it.
Freutcake’s firecracker ice pop method gives the window that fixes both problems. Freeze the white layer until semi-firm, about 20 minutes, then insert the sticks through that white layer – firm enough to hold a stick upright, soft enough that the blue layer poured on top still fuses to it. Freeze 10-20 more minutes until firm, then add the final layer and freeze, per Freutcake, 3 hours or overnight. The semi-firm window is the make-or-break step: it’s the only point where the pop is solid enough to anchor a stick and still wet enough to weld the next band.
For the full ingredient build and ratios, Brown Eyed Baker’s layered copycat is the one to follow – it yields six 3-ounce popsicles and runs, per its recipe card, 158 calories per pop, 27g carbohydrates, 22g sugar, 2g protein, 2g fiber, 19mg cholesterol, and 19mg sodium. A no-added-sugar route exists too: one version comes in at 41 calories per pop across a yield of 9, built on berries and coconut rather than syrup. The calorie spread across these three – 35, 41, and 158 – is not a contradiction; it’s three different products at three different serving sizes. Decide which one you actually want before you shop.
Sharp stripes or tie-dye: the freeze state that controls the look
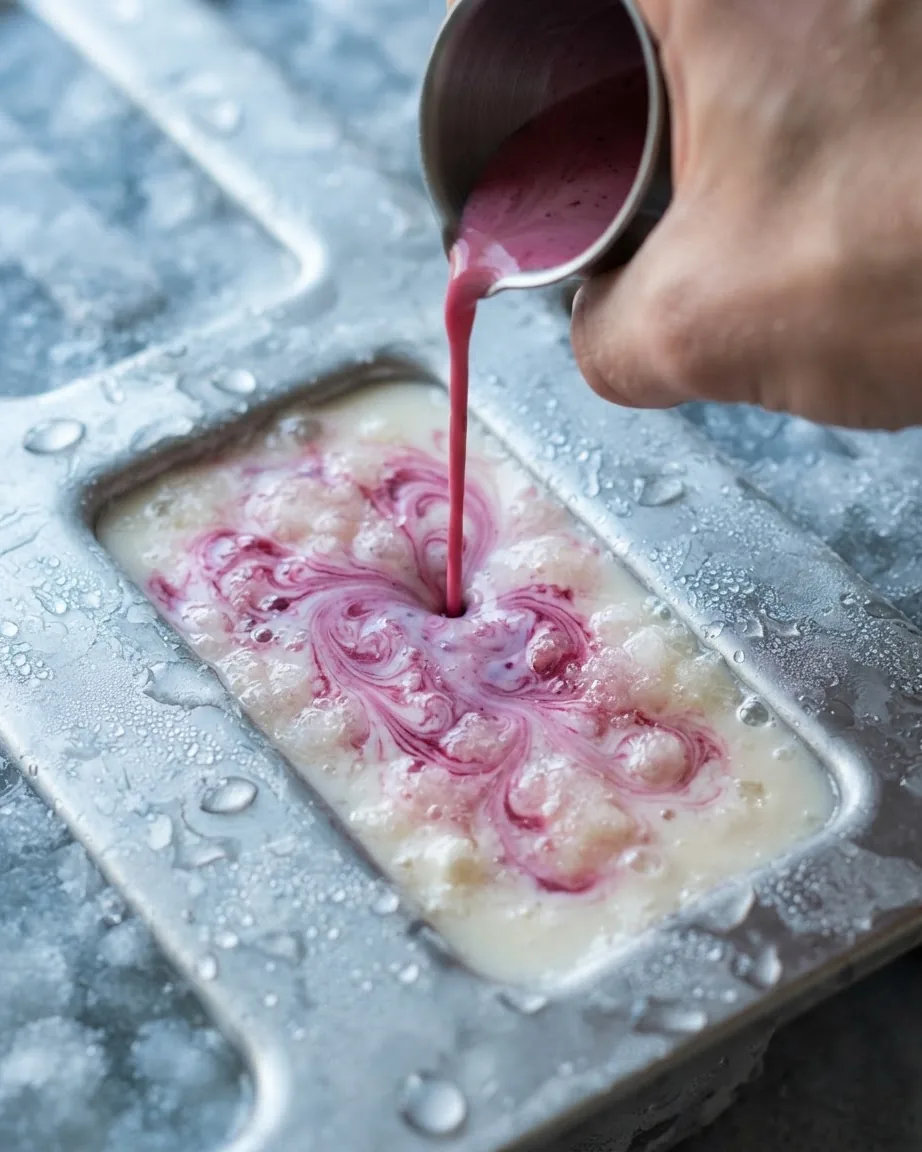
The appearance you get is a function of how hard each layer is when you pour the next one. The method spells it out: freeze a layer until slushy, about 10 minutes, then insert the sticks and freeze until solid – “or nearly solid for a more ‘Tie-dyed’ look.” That’s your lever. Pour onto a fully frozen layer and you get a clean, flat line between colors. Pour onto a slushy, nearly-set layer and the colors bleed at the boundary for a marbled effect.
Neither is wrong. But decide up front, because you can’t fix a blurred line after the fact – you can only prevent it by letting the layer set harder before the next pour.
No-churn chocolate-shell ice cream pops: the dairy family, and why it breaks standard molds
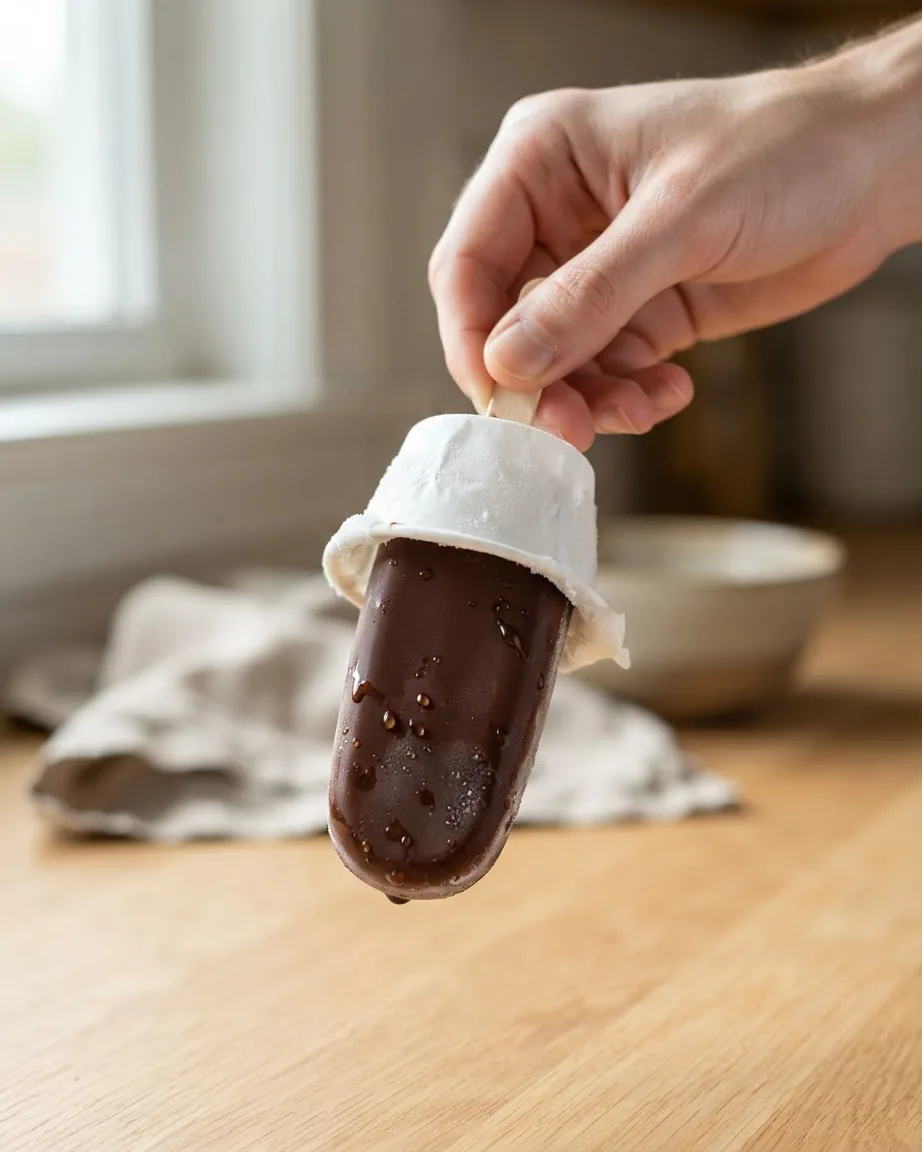
The dairy pop is a different animal, and this is where most home attempts go sideways. Buttermilk by Sam’s no-churn base starts with one can of sweetened condensed milk (396g) whipped with 2 cups (480g) heavy cream, vanilla, and salt – no ice cream machine. The shell is 300g dark chocolate cut with coconut oil so it stays snappable at freezer temperature instead of shattering.
Here’s the mold catch nobody warns you about. A frozen ice-cream pop expands and grips the walls of a standard silicone or plastic popsicle mold, so it won’t release – you either snap the stick or tear the pop. Both Serious Eats and Buttermilk by Sam steer dairy pops away from standard molds. Serious Eats names its mold of choice as “the 3 ounce Dixie cup, the little paper kind you get your pills in at the hospital” – you peel the paper off rather than fight a reusable mold. Buttermilk by Sam reaches for muffin tins for the same reason. The rule is base-dependent: fruit and yogurt pops use standard ice-pop molds; dairy ice-cream pops use Dixie cups or muffin tins.
For the chocolate itself, go with semi-sweet or dark “something between 45%-78% cocoa solids.” Too sweet and the shell goes soft; too dark and it cracks. The dip has a tell: the shell needs “a good 30 seconds to completely harden – it’ll go from glossy to fudgy-looking to completely matte.” Pull the pop before matte and the shell slides; wait for matte and it’s set. That color change is your timer, no thermometer needed.
How long homemade ice cream truck popsicles actually keep
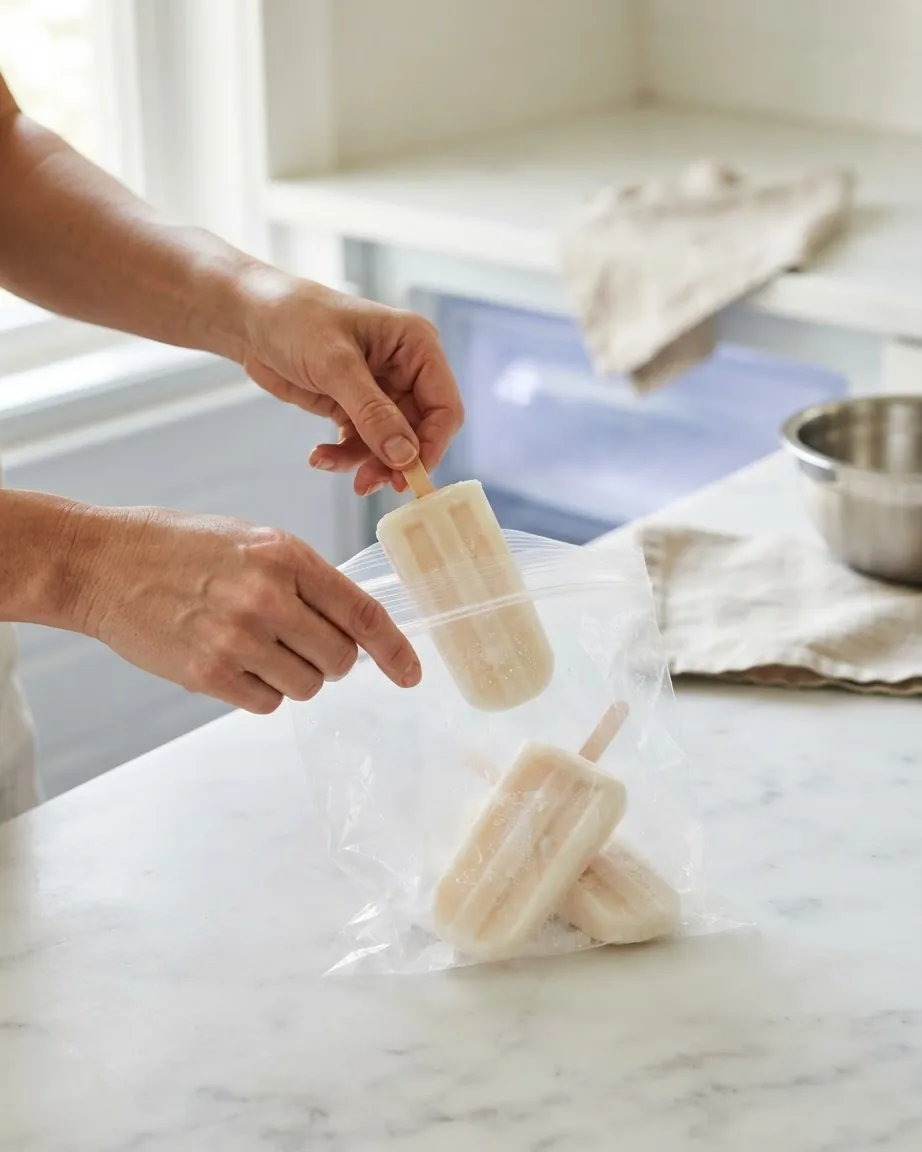
Homemade pops don’t have the stabilizers a commercial Firecracker carries, so they won’t hold as long and they’ll develop ice crystals if left open to freezer air. The no-added-sugar guidance is to store them in a zip-top bag or airtight container in the freezer for up to 1 month. Brown Eyed Baker gives a tighter window for its copycat – freeze until solid, 3 hours or more, or up to 1 week.
Both numbers are right for their own recipe; the shorter 1-week figure reflects a pop with no barrier against freezer burn once the surface is exposed. The practical read: bag them the day you make them, and the no-added-sugar and lower-sugar builds trend toward the 1-month end while the higher-sugar copycats are best eaten inside the week for texture. These are quality windows, not a food-safety guarantee – a frozen pop held colder and sealed better simply tastes better longer.
If frozen desserts are the direction you’re headed, our soft serve ice cream guide works through the dairy side in more depth.
Selling them off a truck: the permit split that catches first-timers
The moment you take pops from your freezer to a service window, you’re in a different world, and the rules are local – not national. Two real examples show how far apart jurisdictions sit.
In Arizona, the Mohave County Department of Public Health runs a “Mobile Food Type 1055” category for prepackaged foods only, which names ice cream trucks and carts. Under those guidelines, a vendor approved to dispense open food or samples needs a minimum 5-gallon insulated container for potable water, with multiple containers allowed. If you’re only handing out sealed, prepackaged pops, that open-food requirement may not apply to you – which is exactly the kind of distinction that decides your equipment list.
Florida went a different way. The City of Jacksonville Office of Consumer Affairs notes that effective July 1, 2020, the Florida Legislature pre-empted local government regulation of Mobile Dispensing Vendor Units – a list that explicitly includes food trucks, food vendors, ice cream stands, carts, and ice cream trucks. Pre-emption doesn’t mean “no rules.” Jacksonville still points vendors toward a local background check, a business tax receipt, a street vendor permit, and a fire inspection. The state took the sanitation and licensing lead; the city kept the rest.
The takeaway for anyone eyeing a dessert route: do not copy another operator’s permit checklist from a different county or state. Mohave County and Jacksonville illustrate how different the same “ice cream truck” looks under two codes. Your binding requirements come from your own city and county health and licensing offices, and you confirm them before you buy a freezer. For the broader money-and-permit picture of a mobile setup, see our mobile food truck guide.
One Full Batch of the Firecracker Copycat, by the Numbers
The Brown Eyed Baker layered copycat is quoted per pop, but you don’t freeze one pop at a time – you pour a whole batch and commit the whole thing to the freezer for a week. The recipe yields six 3-ounce popsicles at 158 calories and 22g sugar each, so the batch you’re actually making works out to a fixed set of totals worth knowing before you shop or scale.
- Total volume: 3 oz × 6 pops = 18 oz of base to mix and pour – about right for two trays’ worth of standard ice-pop molds.
- Total calories: 158 × 6 = 948 calories locked into the freezer per batch.
- Total sugar: 22g × 6 = 132g sugar across the batch – the single clearest reason to pick the no-added-sugar route if the full-sugar count gives you pause.
These three totals are the figures a home cook actually plans around: how much base to make, and what the whole tray is really carrying.
Frequently asked questions
Can I use the same mold for a fruit pop and a chocolate-dipped ice cream pop?
No – the base decides it. A water-and-fruit pop sets fine in a standard reusable ice-pop mold. A whipped-cream dairy pop expands against the walls and grips, so it tears or snaps when you pull it. Switch to 3-ounce paper Dixie cups or a muffin tin for anything dairy; you peel the cup off instead of wrestling the mold.
Why won’t my layers stay in sharp stripes?
You poured onto a layer that wasn’t set hard enough. A fully frozen underlayer gives a crisp boundary; a slushy one lets the colors bleed into a marble. If you want clean bands, let each layer freeze solid before the next pour. If you like the marbled, tie-dye look, pour while the previous layer is still slushy, roughly after the first 10 minutes.
What cocoa percentage keeps a chocolate shell from cracking off the pop?
Aim inside the 45%-78% cocoa-solids range, with coconut oil blended in. Below that range the shell stays too soft and slides; well above it the chocolate turns brittle at freezer temperature and flakes off when you bite. The coconut oil keeps the set shell pliable enough to crack cleanly rather than shatter when it hits the cold pop.
How do I know the chocolate dip has set before I eat it?
Watch the surface, not the clock. The shell shifts from glossy to a fudgy-looking stage to completely matte over about 30 seconds. Matte is your signal it’s fully hardened. Bite in before that and the still-liquid shell slides off the pop; wait for the flat, non-shiny finish and it snaps the way a truck novelty does.